How to Make a Vintage Coffee Table with Chessboard

For many of us, buying unique and creative furniture is an expensive luxury. However it’s nice to have that one piece that will wow the guests and provoke questions about the masterpiece’s origin. This is a step-by-step guide on how to make a vintage coffee table with chessboard and elements of decoupage and craquelure.
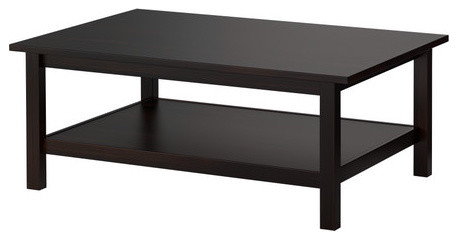
Step 1. Find a cheap end table to start with.
I got a good catch – $10 for Ikea coffee table from Craigslist in “like-new” condition. For this particular project, table of the darker shade would be the best option.
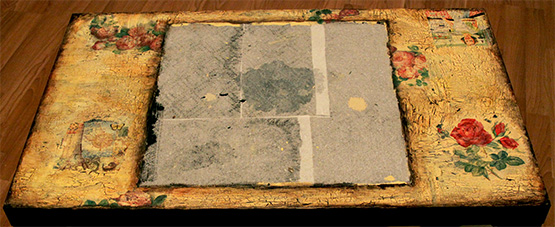
Step 2. Chessboard placement.
Plan out a large square in the middle of the table where the chessboard should be. Make sure it’s 8 x 8 and the squares are wide enough to place the chess on it (between 2.0 to 2.5 inches). The board should be placed so that the rightmost square on the row closest to the player is white. In my case, I decoupaged paper towels to the chessboard area, so that the paint absorbs better and doesn’t peel off. That also gives it texture. You may skip this step if you like, the paint will be protected with the finish upon completion.
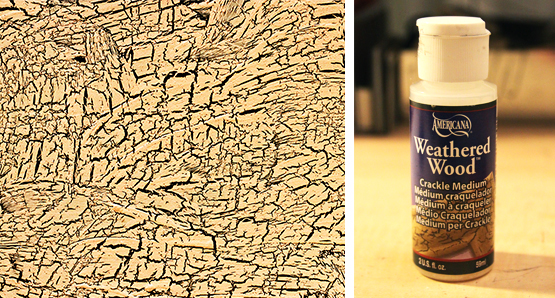
Step 3. Craquelure.
For the next step get a crackle medium to create distressed crackled effect. Start off with applying a coat of dark acrylic paint all over the table, leaving off the chessboard area – we will take care of it later. After it’s dry, apply an even coat of crackle medium and wait until it’s completely dry. Once it’s done, a layer or contrasting color of flat paint needs to be applied on top. Now make sure the paint is flat (you can get a cheap sample from a local hardware store), or otherwise the cracks won’t show up. This step is very delicate, and I would suggest to practice on a different surface first. Don’t paint over the same spot twice, always have enough paint on the brush to apply in one single layer.
Step 4. Distressing the edges.
To add more visual distress to the table, apply a darker color shade to the edges. You may also add a few darker patches all around for more dramatic effect.
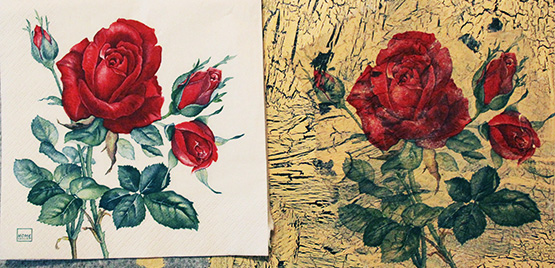
Step 5. Decoupage.
For the next step try to find some vintage looking napkins. Carefully cut out or tear out the selected design, and separate the napkin into layers. Take regular paper glue and mix it with a little bit of water. Apply some to the surface of the table where the design should go, and start working your way from the middle to the edges. Even out the wrinkles and bubbles, trying no to tear the napkin.
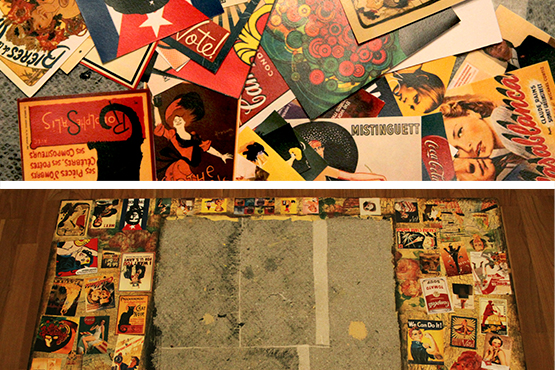
Step 6. Photo Collage.
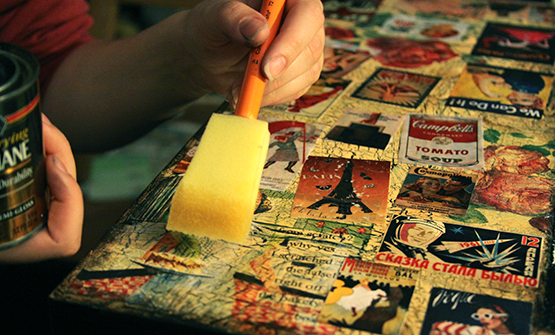
This step gives you a perfect chance to cover up all the mistakes that could happen during steps 3 and 5 (such a relief!). Find your favorite vintage images, whether it’s posters or pin up girls, and print them on laser printer. Note that inkjet printed pictures will smear as you treat them with glue. I believe any office supplies store will be able to print those out for you on laser printer. Cut out the pictures, prearrange them on the table trying to cover all the messy spots, and glue them on.
Step 7. Finish.
As the images are securely mounted to the table top, and the glue is completely dry, apply a coat of finish in several layers. I used Satin Polyurethane, but basically any varnish should work. It’s important to thoroughly cover the whole surface to avoid tear and peel of the application. Because my table top turned out to be very textured, I have applied 10+ layers of varnish to even it out.